How to Edit School Account Details
Admins of a School are able to access and change the School's account details. This includes: editing the School's Name, editing or removing the Pin, and deleting the School.
If you have a Teacher Account without the Admin Role, you will be able to change you personal account details and leave or transfer from the School, but not change any of the School's details.
See the following article on Teacher and Student Accounts to learn more about Accounts and Roles
Where to Find School Account Details
School account details can be found at the top of the Settings Page, below your personal Account details.

Changing the School Name
1. Navigate to your School's name in the "Account" section of the Settings Page.
2. Find and hover over the "School" line/name and you should see a grey "Rename" button and red "Delete" button pop-up.
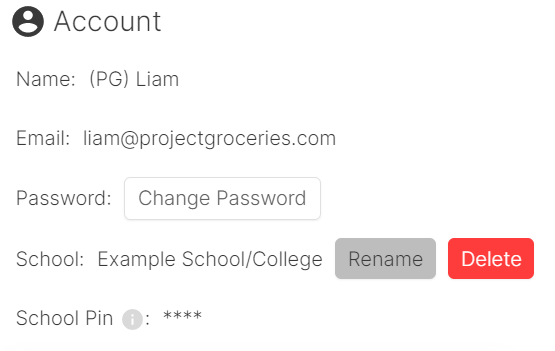
3. Select the "Rename" button and enter into the field the new name for your School.
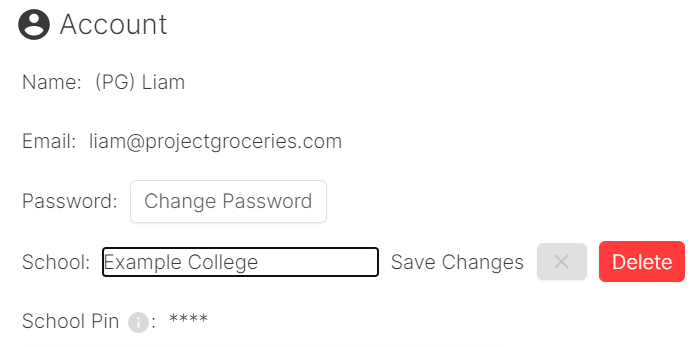
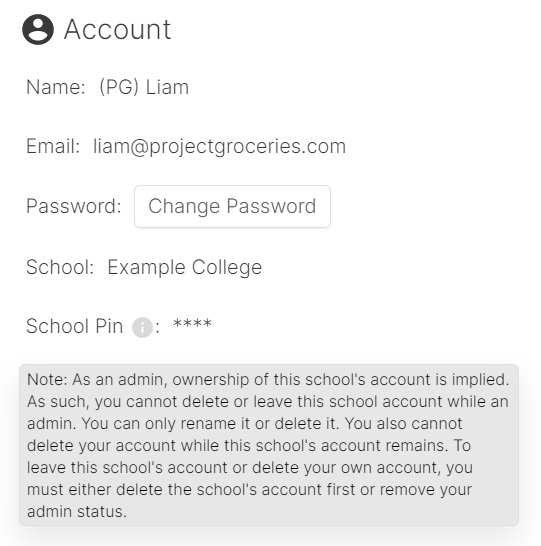
4. Select the "Save Changes" button, and if the School name doesn't already exist you should be able to see that the School's name has been updated.
Changing the School Pin
1. Navigate to your School's name in the "Account" section of the Settings Page.
2. Find and hover over the "School Pin". You should see a 'pencil' and a 'bin' button pop-up the 'pencil' is the edit button.
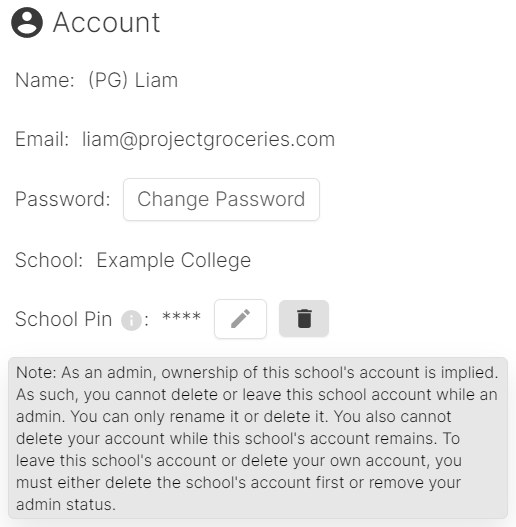
3. Select the edit button and type the new School Pin into the field.
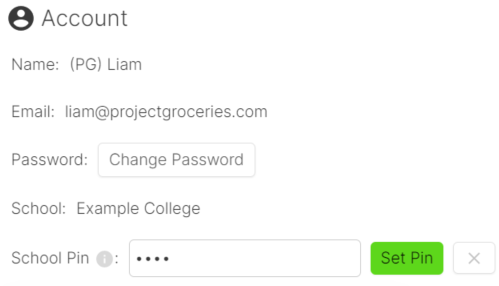
4. Select the green "Set Pin" button and you will have changed your School's Pin.
5. Memorise and/or store the new Pin safely.
This is important for security, so that only users that are supposed to be in your School join. It is also important to have stored safely if new users need to join the School, however this can be reset in the same way as explained above.
Removing the School Pin
Removing the Pin for your School is not recommended as this will allow anyone to join your School without having to enter in any security details.
1. Navigate to your School's name in the "Account" section of the Settings Page.
2. Find and hover over the "School Pin". You should see a 'pencil' and a 'bin' button pop-up, the 'bin' is the remove button.

3. Select the remove button. The "School Pin" section should now show "No pin" with a "+" button beside it, meaning that you will have successfully removed the School's Pin.
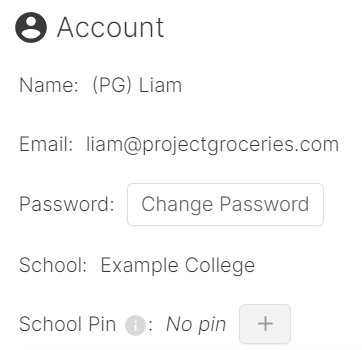
Adding a School Pin
1. Navigate to your School's name in the "Account" section of the Settings Page.
2. Find and hover over the "School Pin". If there is no School Pin, then you should see a "+" button pop-up, which is the button for adding a new Pin.
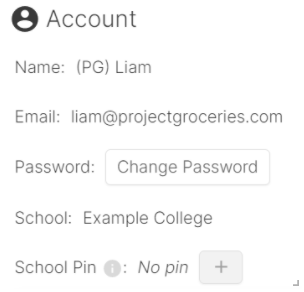
3. Select the "+" button and type in the new Pin you want to add.
4. Select the green "Set Pin" button.

5. You should now see that the "School Pin" line is no longer showing "No pin", meaning that you have successfully added a new School Pin.

